Add an Interactive Timeline in Webcourses@UCF
This is a guide for UCF faculty members with instructions on how to include an interactive timeline in your Webcourses@UCF course.
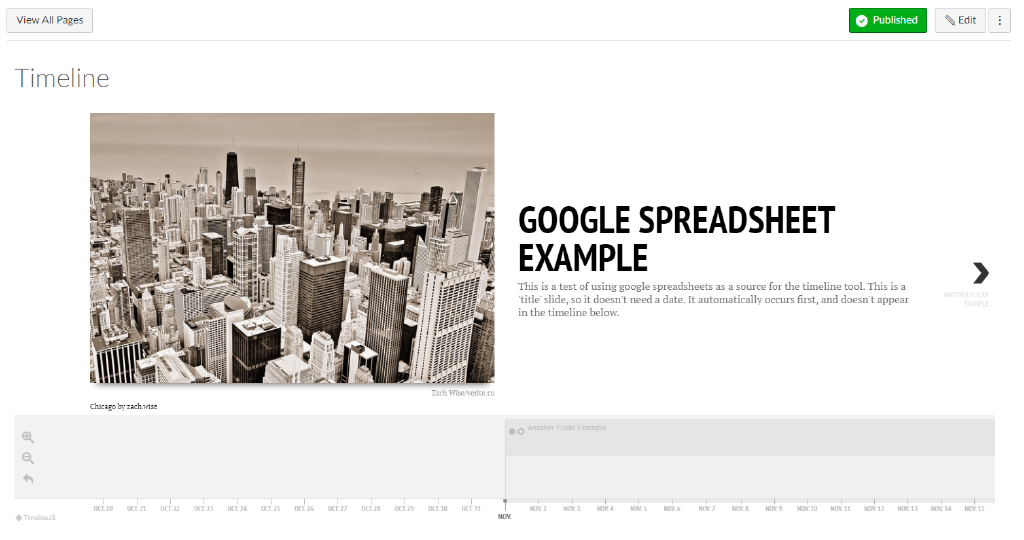
Getting Started
Visit timeline.knightlab.com/#make and click the “Get the Spreadsheet Template” button.
Login to your Google account.
Click the “Make a copy” button.
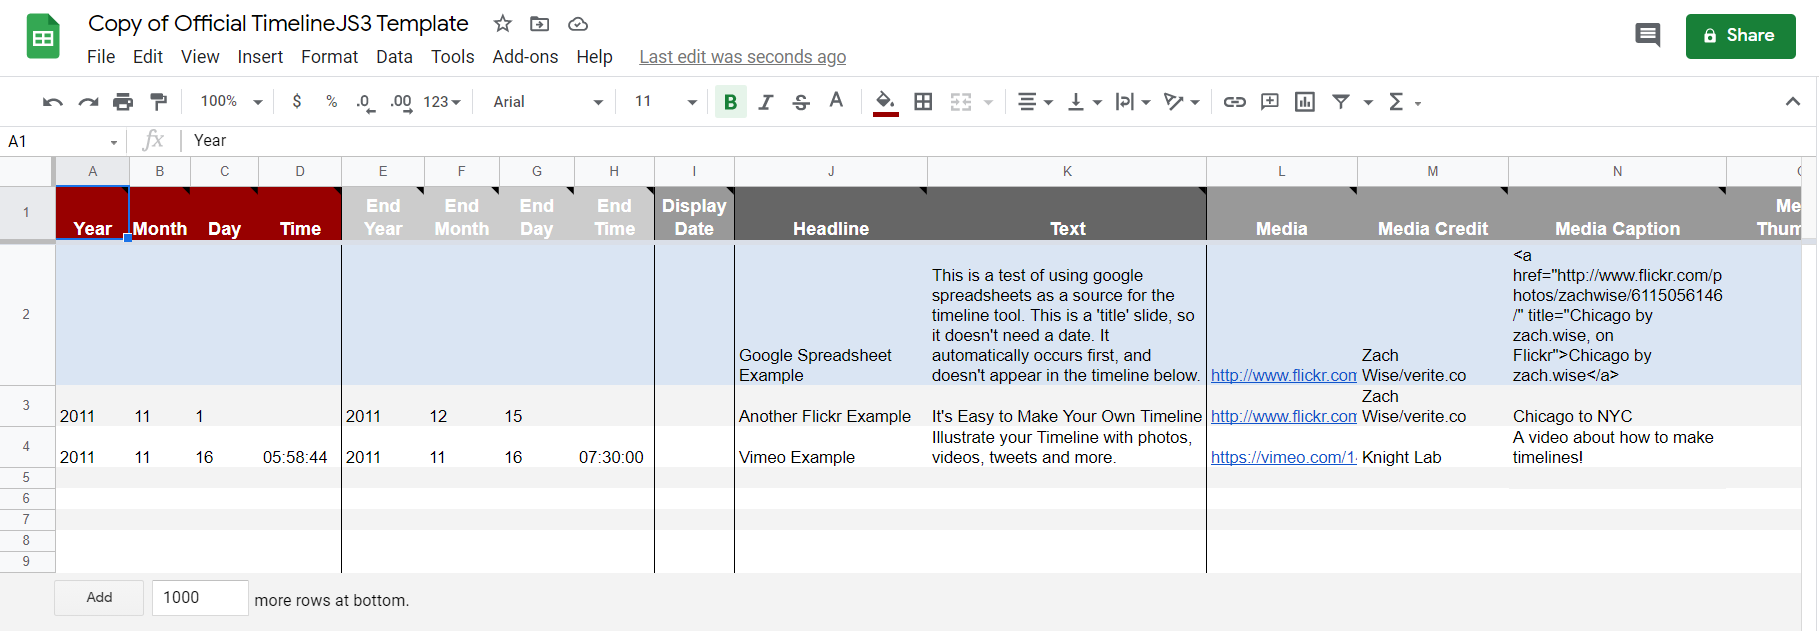
When the template opens, you will be able to edit and add new information. Do not delete any columns or change the column headers, and do not leave any blank rows in your spreadsheet.
Edit your timeline
Each row in the spreadsheet is a separate event for your timeline.
To change the start date for a timeline event, edit the rows underneath the "Year", "Month", "Day" and "Time" headers.
To change the end date for a timeline event, edit the rows underneath the "End Year", "End Month", "End Day" and "End Time" headers.
To change the headline and text, edit the rows underneath the "Headline" and "Text" headers.
To add images and videos, paste the image or video link into the row underneath the "Media" header.
To change the background of a slide to a picture, paste an image link into the row underneath the "Background" header.
To change the background of slide to a different color, enter a hex code value, such as #000000 for black, into the row underneath the "Background" header.
Publish your timeline
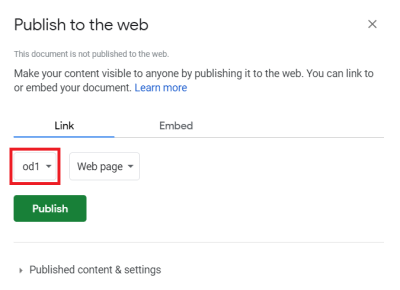
When you are finished adding new information, click the File menu and select “Publish to the Web.”
In the next window, change the "entire document" selection to "od1."
Click the "publish" button and then click OK.
Close the new window that appears and then copy the URL in your browser's address bar.

Generate your timeline
Visit timeline.knightlab.com and scroll down to step number three.
Paste the spreadsheet URL into the "Google Spreadsheet URL" box.
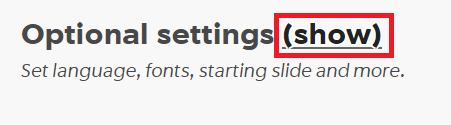
To further customize your timeline, click the word "(show)" next to the Optional settings.
To change the font, click the currently selected font type and then choose a new font from the list.
To start your timeline at a specific slide number, type the number in the "Default start slide" entry box.
Go to step number four and copy the embed code.
Add your timeline to Webcourses@UCF
Visit webcourses.ucf.edu and login with your NID credentials.
From the Dashboard, click the course you would like to add your timeline to.
Click "Pages" from the left navigation pane and then click the blue "+Page" button on the top right.
Click "Insert" and then "Embed."
Paste the spreadsheet URL into the Embed Code box and then click "Submit."
Add a title to your page and then click the "Save & Submit" button.
To add your timeline to a module, click "Modules" from the left navigation pane and then click the blue "+Module" button on the top right.
Enter a Module Name and then click the blue "Add Module" button.
Click the plus icon next to your module.
In the next window, change the "Assignment" selection to "Page."
Select the page with your timeline and then click the blue "Add Item" button.


