How to host a Live Event in Microsoft Teams
Getting Started – Schedule a Live Event
In Teams, go to Calendar in the navigation panel on the left side.
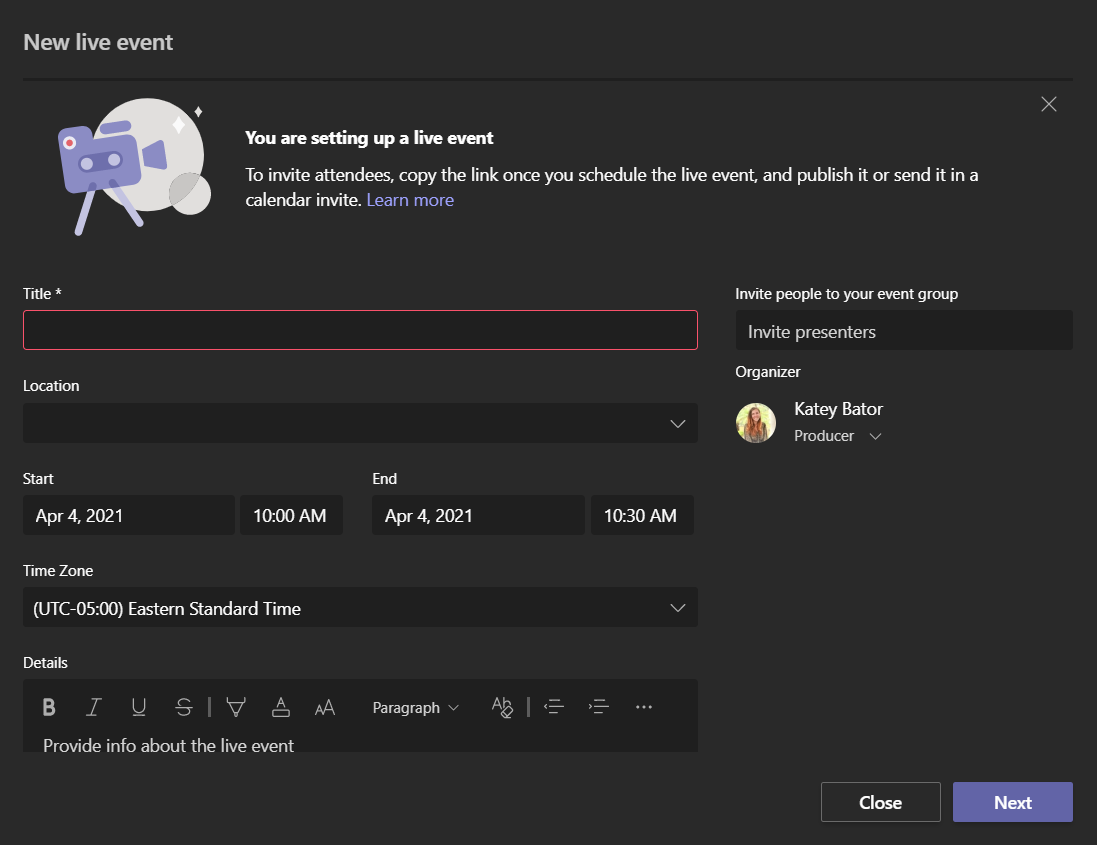
On the top right hand of the screen, click the down arrow next to New meeting and click Live event.
Add the Title, Location, Start and End time and add a meeting description if necessary. Click Next when finished.
On the Live event permissions screen, choose Public to allow for non-UCF email address access.
Scroll down to How will you produce your Live Event to toggle Recording available to attendees, and Attendee engagement report.
Click Schedule.
Click Get attendee link to send participants an invitation to join at the time of the Live Event.
Go to the Pre-Live Event topic below ~30 minutes before your scheduled appointment to prepare the Live Event.
Pre-Live Event
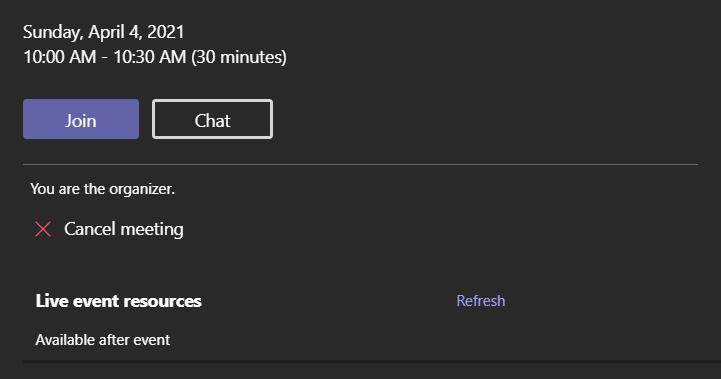
Open Teams and go to Calendar, then click on your scheduled Live Event.
Click Join. A new window will appear in Teams.
Click the toggle switches next to the video and microphone icons to turn Audio and Video on.
Click Join now to open the Pre-Live Event. This is where you will be able to setup video, audio, screen sharing, and other features.
To share Desktop and Video with participants:
click the Share button and then select the screen you would like to share under Desktop.
Reopen the Teams app after it minimizes, then click on your Desktop under Content.
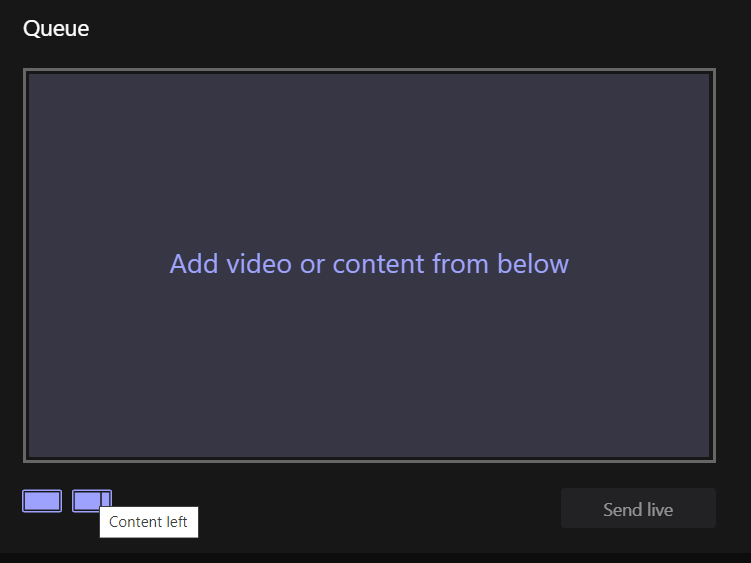
To add video from your webcam… click the Content left button underneath the Queue panel.
Make sure your webcam is turned on and displaying image. The video will be displayed on the bottom of the Live Event window under You.
Click Add video from below inside of the Queue panel on the right, then click your video output.
The preview under Queue is what your presentation will look like to participants, if everything looks good, click Send live.
Follow the instructions under the Begin Live Event topic to share the presentation with participants.
Begin Live Event
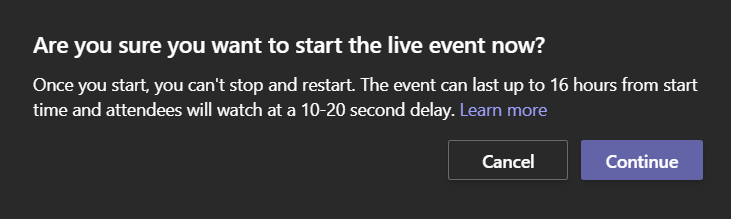
After uploading content to the queue manager and sending it Live, you will be able to click Start under the Live event panel to begin the Live Meeting.
Note: During Live Events there is a 10-20 second delay between the speaker and the attendees.
Click continue. The event will now be live for participants to watch.
To end the presentation, click End and then the click End live event.
Click Leave at the top of the Teams app to close the Live Event window.
Note: If you click Stop sharing during the Live Meeting, participants will not be able to see or hear anything. To begin sharing again, click the Share button and then select the screen you would like to share under Desktop. Your previously setup content should be displayed again under Live event.
Access Recordings
Open Teams and go to the Calendar, then click the Live Event appointment.
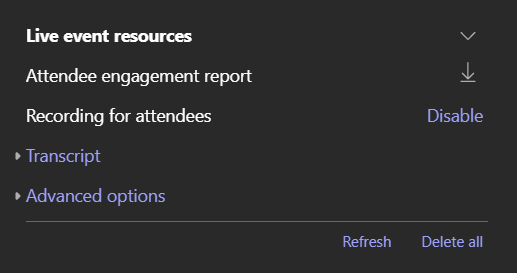
Scroll down to the Live Event Resources section and click the download icon next to any files you want to save.
To delete all files, click Delete all.